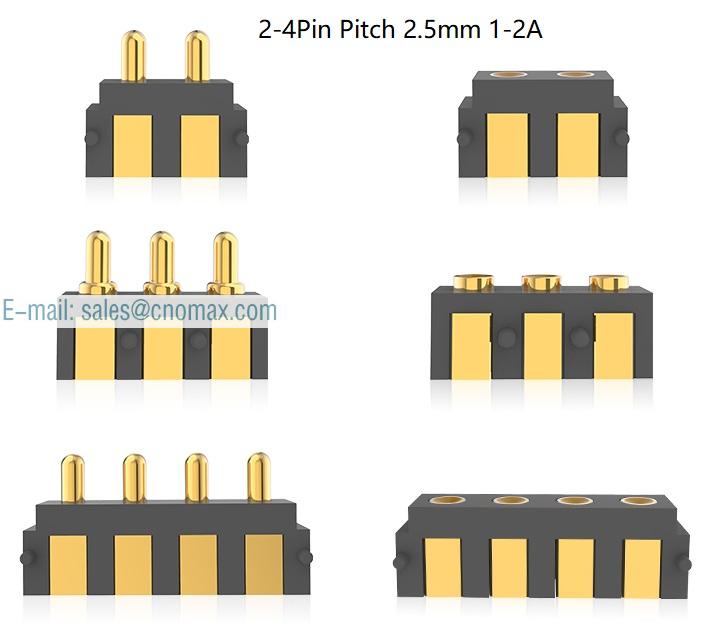
About Side Solder Pogo Pin Connector Welding

About Side Solder Pogo Pin Connector Welding
With the progress of science and technology and the continuous development of the electronic industry, more and more circuit boards now use Side Solder Pogo Pin Connector.
Side Solder Pogo Pin Connector is becoming more and more popular with manufacturers because of its small size and low cost. In the production enterprise, Side Solder
Pogo Pin Connector mainly depends on the automatic welding equipment. However, when repairing electronic products, you need to manually detect and weld. For many beginners, they will feel unable to start and think they do not have the ability to weld. Think it is not as easy to grasp as the traditional in-line element welding, in fact, these concerns are completely unnecessary. Now let me briefly introduce the welding method for you.
Welding tools:
An electric soldering iron that can automatically maintain a constant temperature (adjustable temperature), you can choose a pointed head first or a small knife head. (In addition, I am used to a small knife head, so I can Solder the plug-in or solder the patch. I used this kind of Cnomax Side Solder Pogo Pin Connector. Remove welding is done with it), of course, depending on personal habits, for integrated circuits, some people like to use a heat gun, but for very small patch components, or the use of electric iron is appropriate.
A pair of pointed tweezers for easy picking up and placement of the patch element. High-end points can buy a pair of electric tweezers, equivalent to two electric irons installed together, professional tools.
Magnifying glass, for poor eyesight can be convenient welding.
Generally, rosin core solder wire with diameter of 0.6 is selected.
Welding process:
Adjust the temperature of the electric iron to 250-300 degrees Celsius (if the temperature is too high, the element will be damaged). Solder one end of the solder plate first, and fix both sides of Side Solder Pogo Pin Connector on the solder plate with tweezers. Solder one end before welding the other end. After skilled, you can do without tweezers. After the tin on both ends of the welding plate, you can use the soldering iron on one end of the resistance. The resistance will stick to the iron head because it is too small, and it will be quickly placed on the welding plate.
For Side Solder Pogo Pin Connector with many and dense pins, you need to put Side Solder Pogo Pin Connector on the solder plate first. After alignment, melt a small amount of Solder and Solder it to several pins on the Side Solder Pogo Pin Connector so that it can be fixed accurately. After fixing, solder other pins. After skilled, you can "drag welding". That is, put the tin on one side of the pin, and then use the soldering iron to melt the solder to erase the remaining pin on the side. After the solder wire is melted, it can flow. Use the soldering iron head to guide the molten tin to flow to other pins, and ensure that all pins can be uniformly tin, and then scrape the excess tin outward with the tip of the iron along the pin until the pin is no longer connected.
Removal method: For integrated circuit removal, beginners had better use welding air gun, use hot air nozzle along the peripheral pin of the chip to move quickly, evenly heated until the solder melts, and then use tweezers to clamp down. However, some points should be noted when using the hot air gun: the distance between the hot air nozzle and the solder joint should be 1 to 2 mm, and the Angle chip pin should not be directly connected, nor too far away. Do not blow for more than 20 seconds in a row, and do not blow more than three times in the same position. For different welding objects, the appropriate temperature and air volume can be selected through repeated tests.
Generally, there are two rows of Side Solder Pogo Pin Connector. You can also directly use a soldering iron to add enough tin to the two rows of pins to form a tin block. Then use a soldering iron to heat the tin block at both ends quickly and move along all pins.
